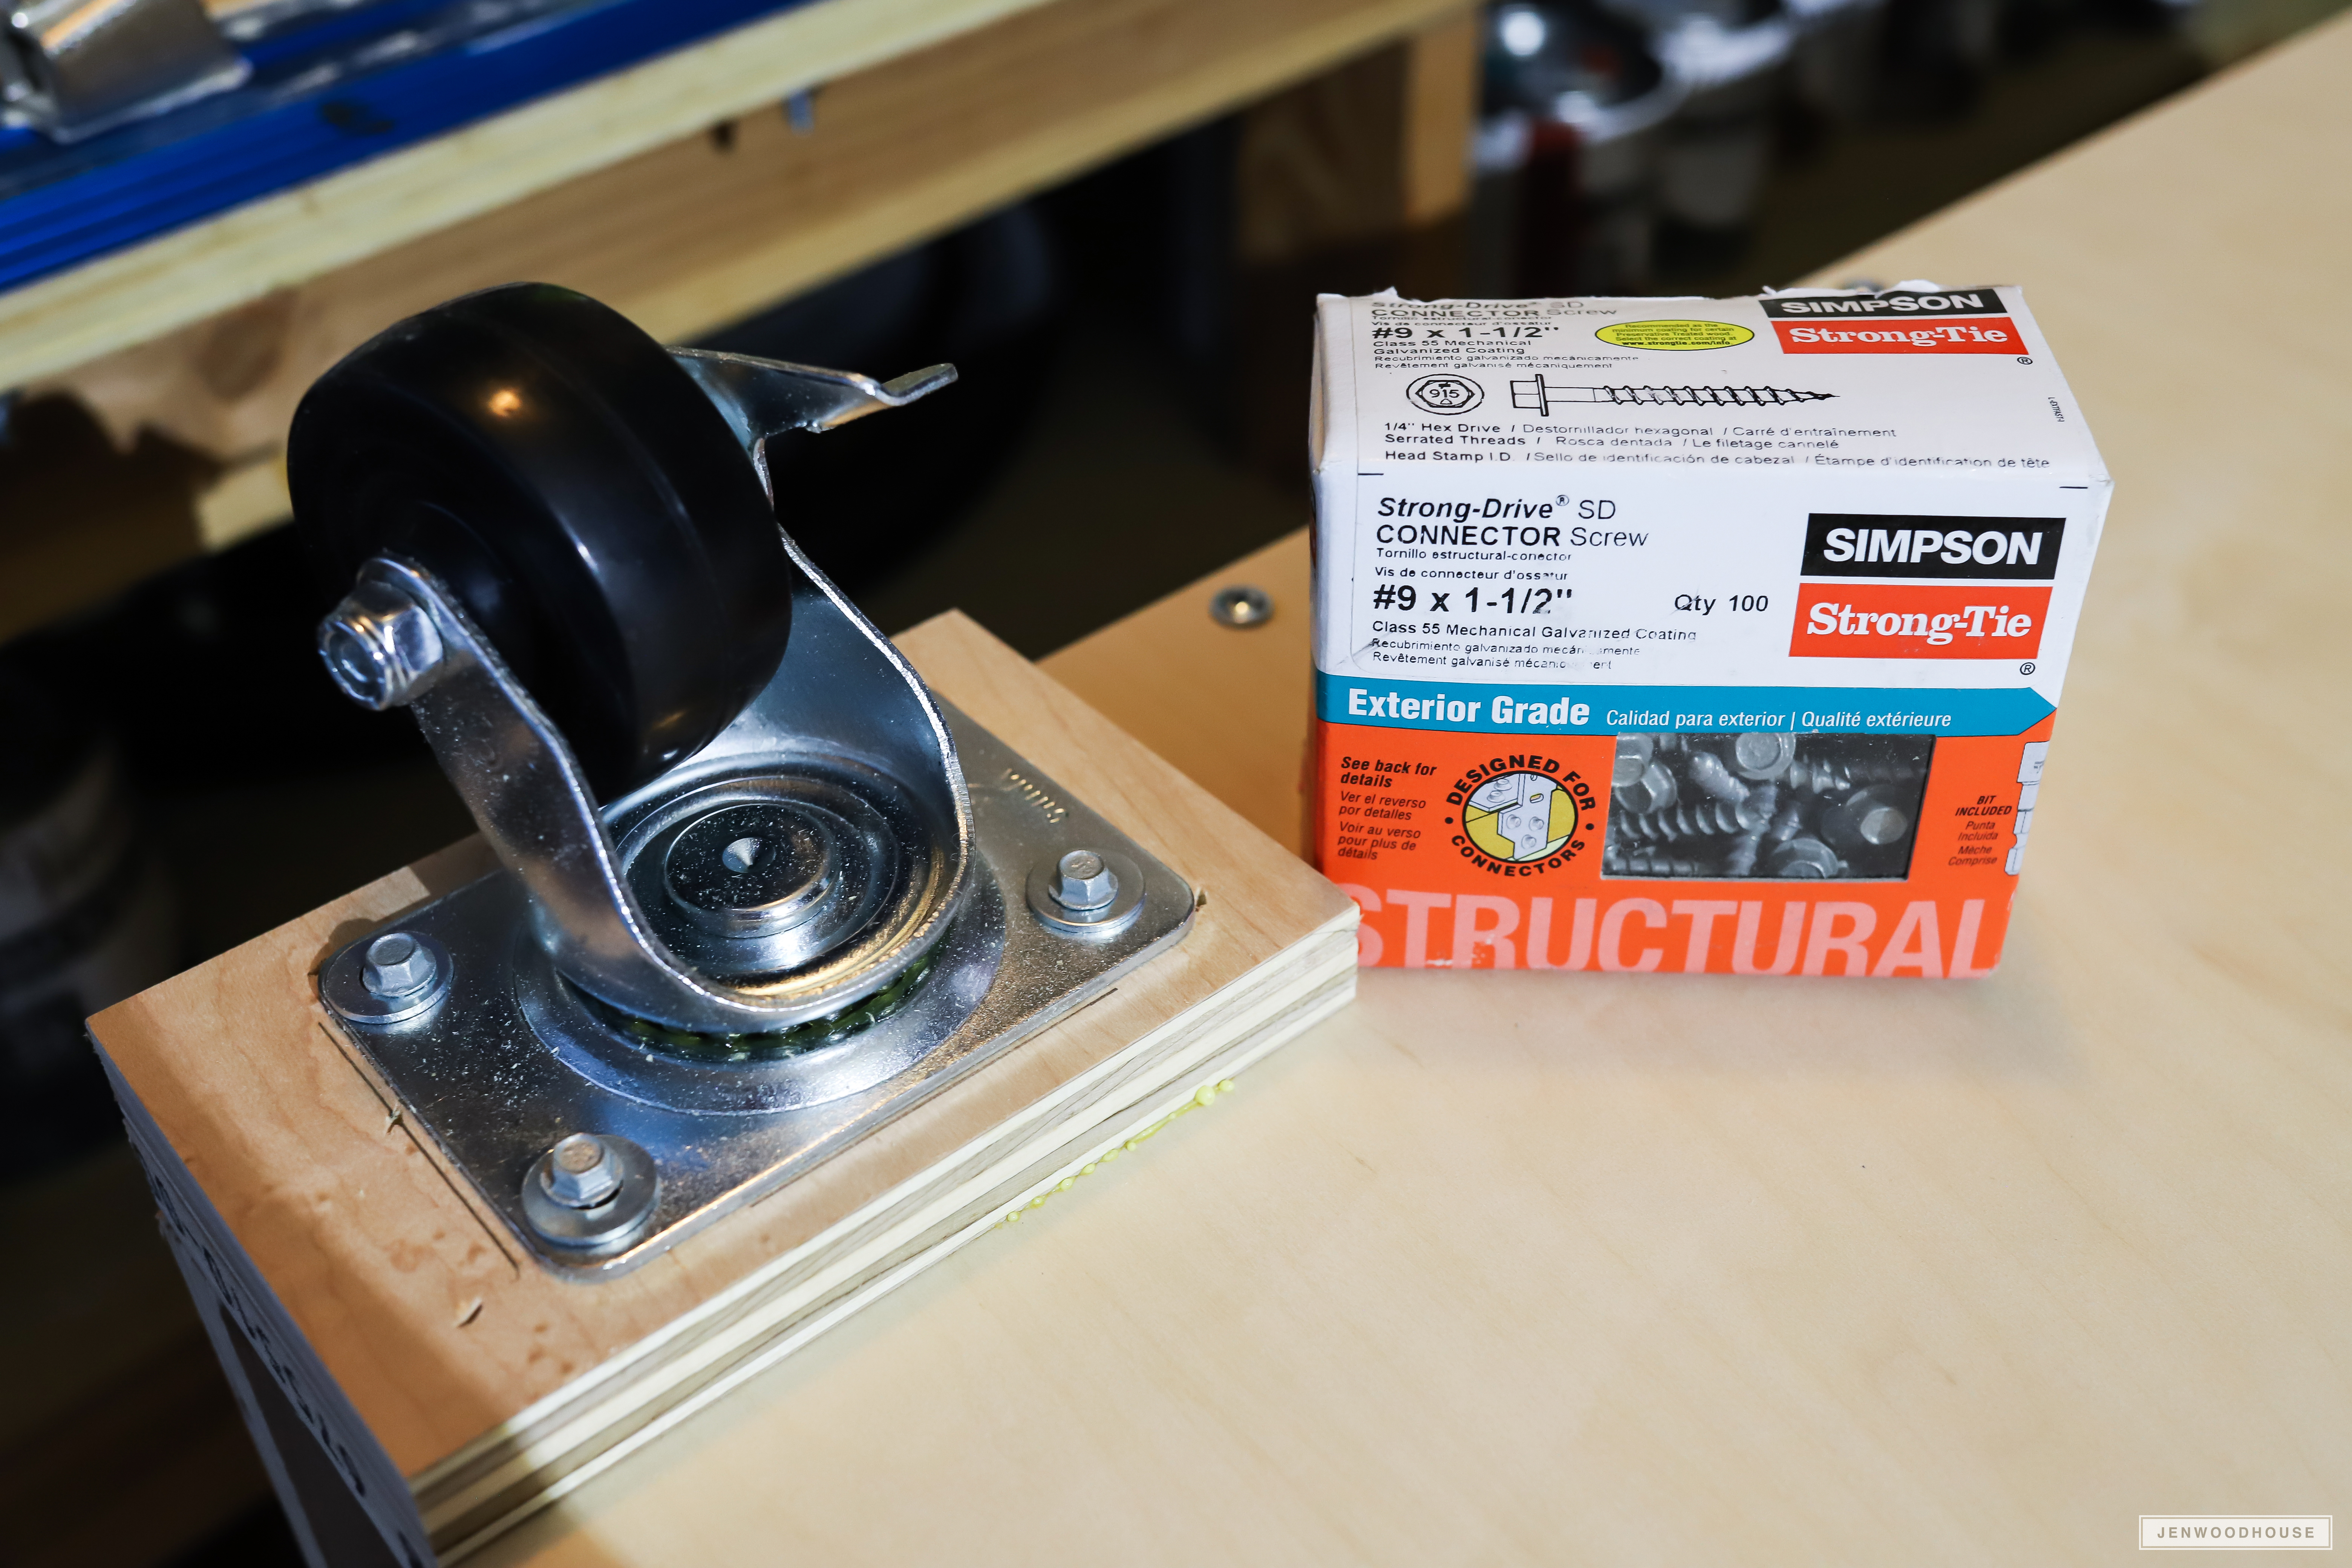
One of our most requested DIY projects is a mobile workbench with drawers — so when Jen Woodhouse proposed designing exactly that, we jumped at the opportunity to put it on our site. Jen built her mobile workbench using a combination of Simpson Strong-Tie® wafer-head screws and hex-head Strong-Drive® SD Connector screws.
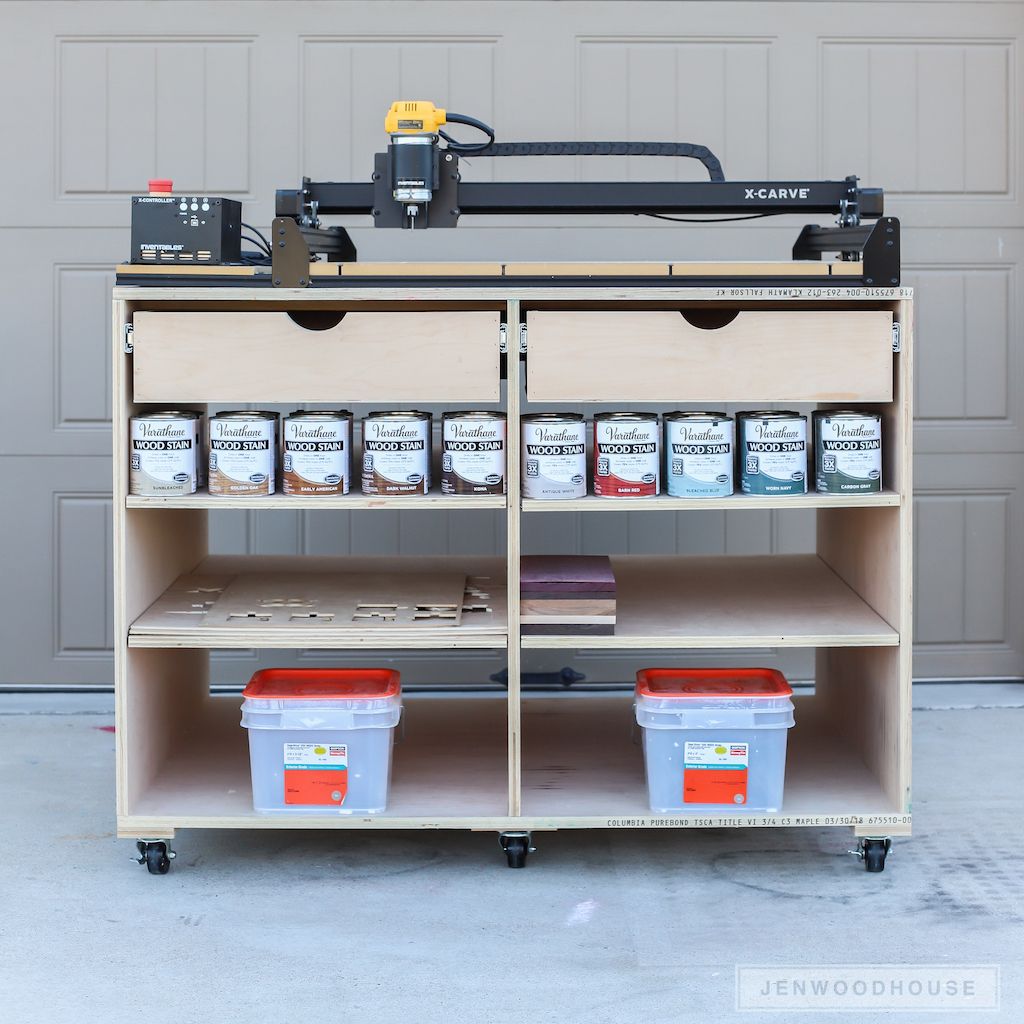
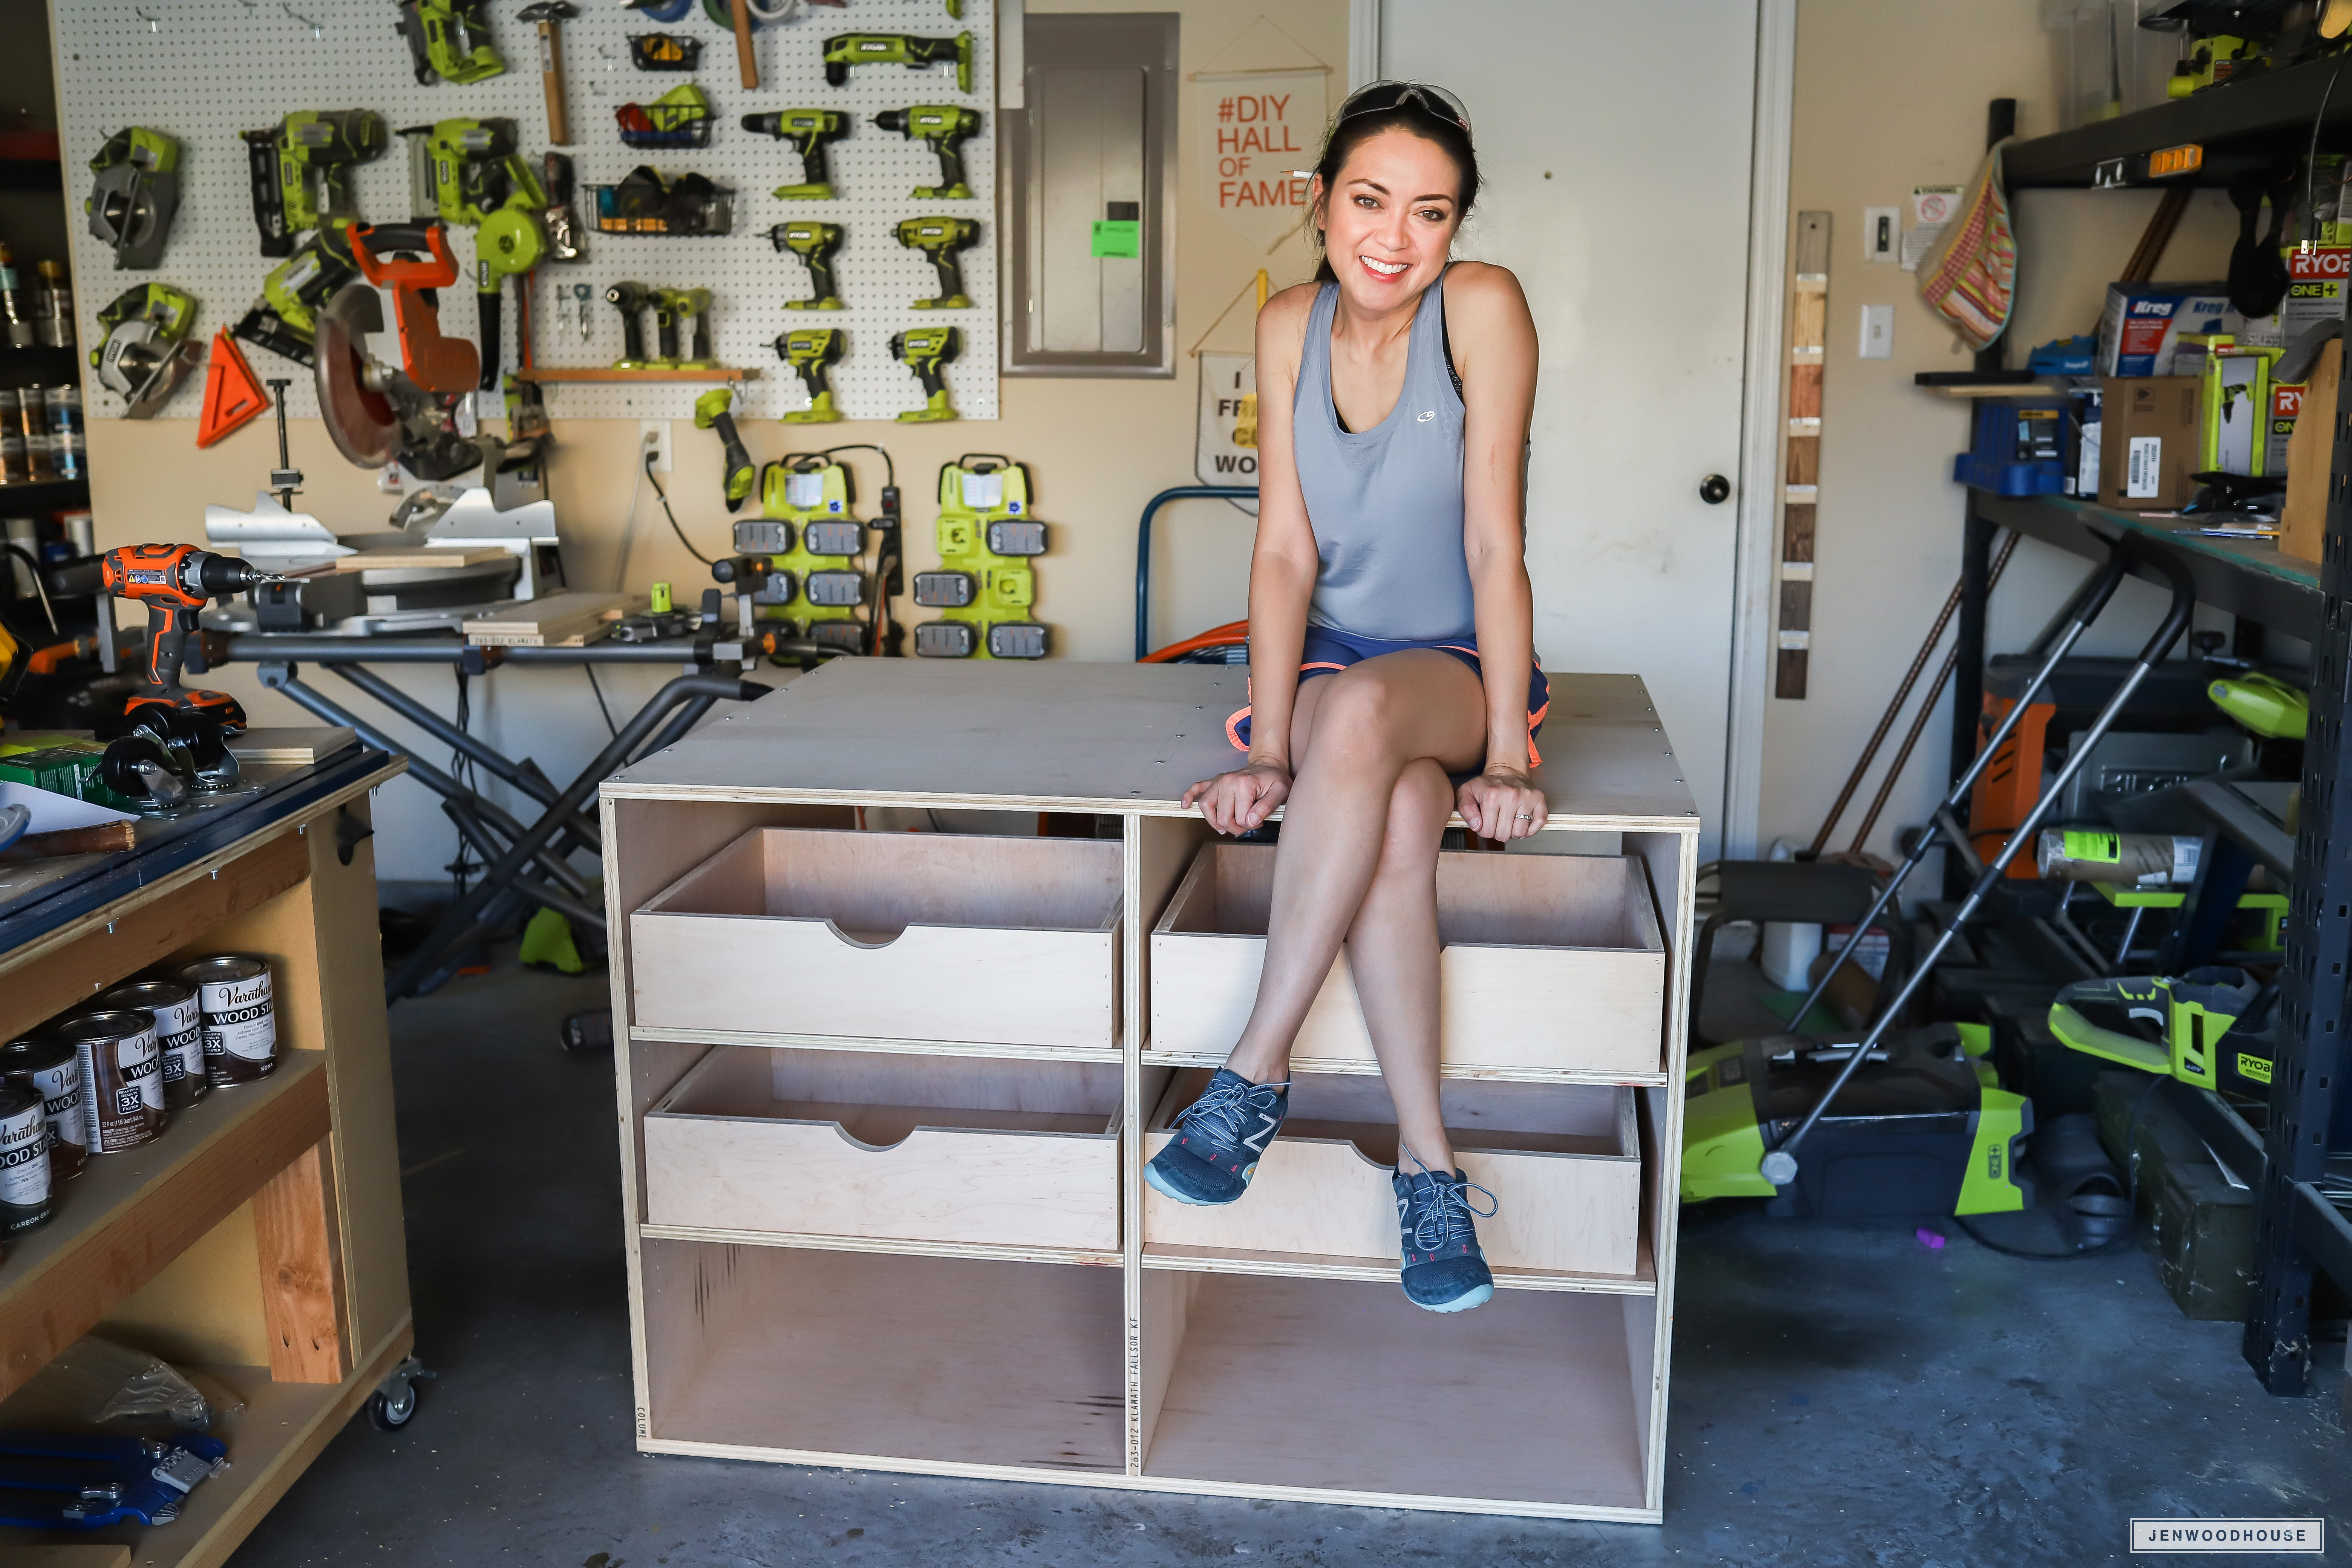
Hi everyone! Jen Woodhouse here, excited to be sharing my newest project: a DIY mobile workbench with drawers. I really needed a dedicated place for my 3D carving machine — for months, it sat on a piece of plywood laid over two sawhorses. So sad! But instead of building just a simple table, I really needed something that could be a workhorse in my shop, so I added some much-needed storage.
Because the machine is so large, the bench top had to be at least 40″deep, so I decided to make the most use of that space and put shelves and drawers on both sides of the workbench.
Download the PDF plans: Mobile Workbench with Drawers
Materials:
- (4) 3/4″ sheets of 4ʹ x 8ʹ plywood
- (1) 1/4″ sheet of 4ʹ x 4ʹ plywood
- (4) 18″ metal drawer slides
- (4) 2 1/2″ heavy-duty locking swivel casters
- 1 1/4″ Simpson Strong-Tie® Phillips wafer-head screws
- 1 1/2″ Simpson Strong-Tie® hex-head Strong-Drive® SD Connector screws
- 2 1/2″ Simpson Strong-Tie® stainless steel wood screws
- 1 1/4″ brad nails
- 1″ brad nails or staples
- Shelf pins (optional)
- Wood glue
Tools:
- Tape measure
- Pencil
- Carpenter’s square
- Table saw or circular saw
- Cordless drill/driver
- Jig saw
- Shelf pin jig (optional)
- Brad nailer or hammer
- Stapler (optional)
- Safety glasses
- Hearing protection
- Dust mask
Cut List:
- (2) 3/4″ plywood @ 50″ x 40″ (top and bottom)
- (3) 3/4″ plywood @ 40″ x 32 1/2″ (sides and middle divider)
- (2) 3/4″ plywood @ 32 1/2″ x 23 7/8″ (center carcass supports)
- (4) 3/4″ plywood @ 40″ x 23 7/8″ (shelves)
- (4) 3/4″ plywood @ 22 7/8″ x 5 1/2″ (drawer fronts)
- (4) 3/4″ plywood @ 23 7/8″ x 5 1/2″ (drawer backs)
- (8) 3/4″ plywood @ 18″ x 5 1/2″ (drawer sides)
- (4) 1/4″ plywood @ 22 7/8″ x 18 3/4″ (drawer bottoms)
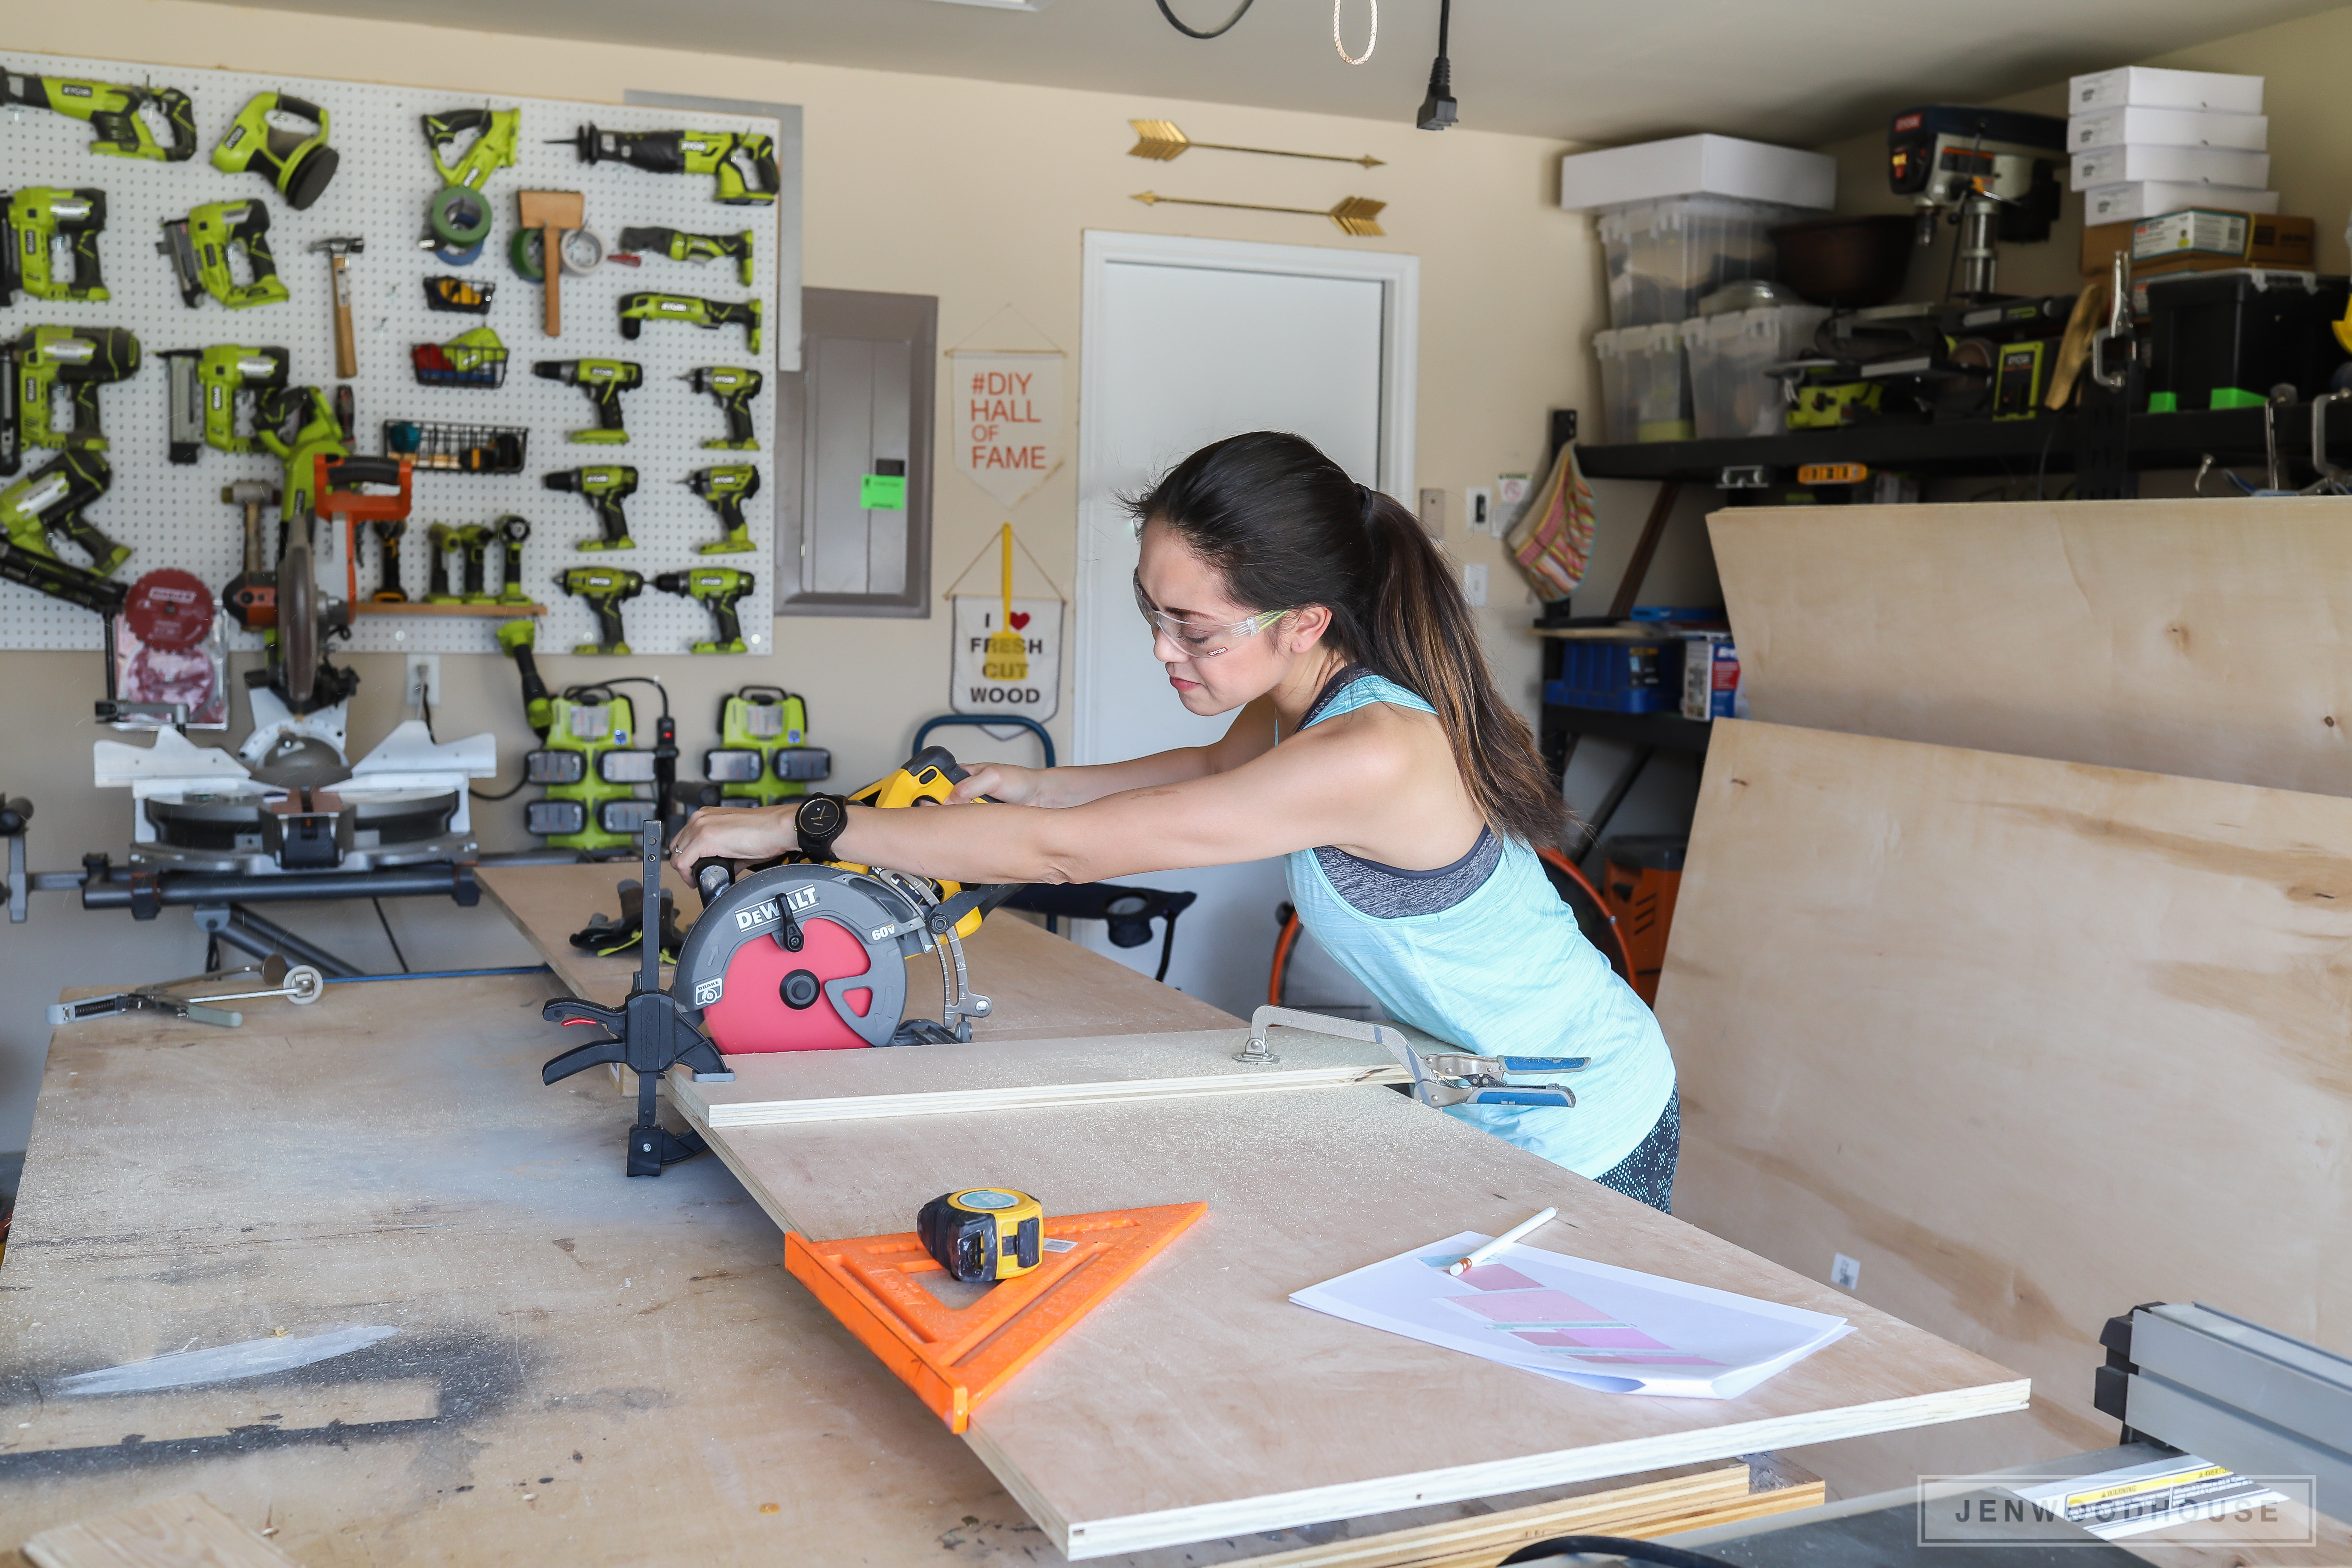
The first step was to cut my plywood panels down to size. You can use a table saw to do this, but I used my cordless circular saw because that made it easier to handle the large plywood panels by myself.
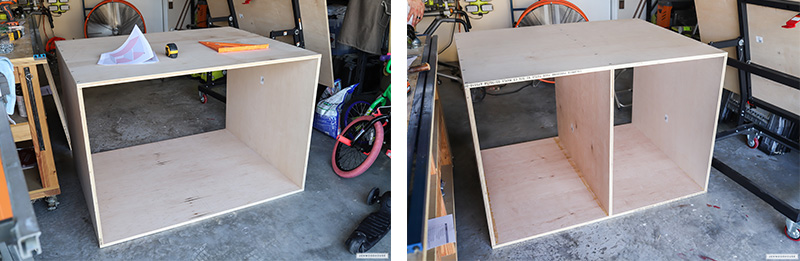
Build the box — check to make sure everything is square, and assemble the box with Simpson Strong-Tie® Phillips wafer-head screws. I love these screws because you don’t have to predrill pilot holes. It saves me an extra step, which is always appreciated when I want to get things done fast.
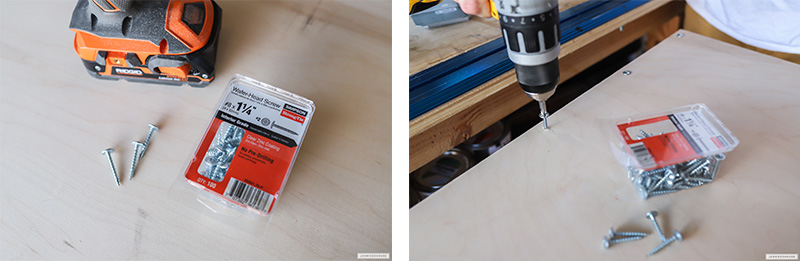
You may choose to countersink these screws so that your workbench top is completely flat. For me, it didn’t matter whether the screw heads sat proud, since my 3D carving machine would cover all of that up anyway.
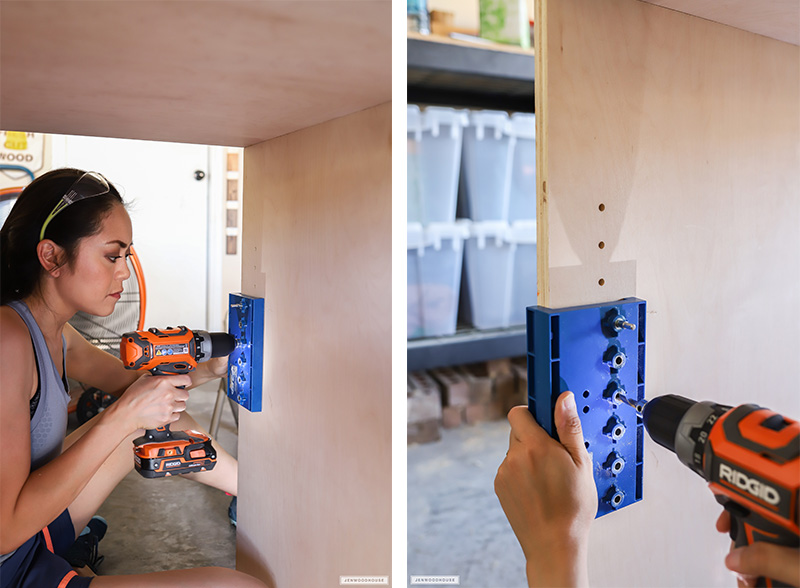
I chose to make my shelves adjustable, so I used a shelf pin jig for this.

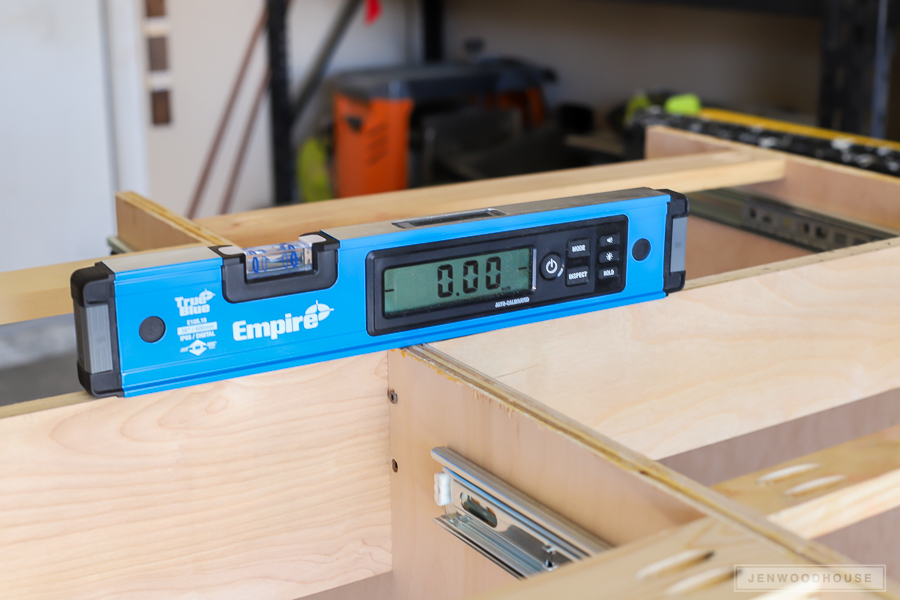
Once the carcass is built, it’s time to build and install the drawers. I used a jigsaw to make a drawer pull by cutting out a curve on the front of each drawer. There are two drawers on each side of the bench.
Next, I used a drawer slide jig from Rockler which made the repeated process of installing slides for all four drawers simple and consistent.
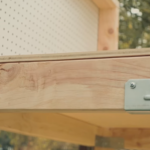
I used Simpson Strong-Tie hex-head Strong-Drive® SD Connector screws to attach the locking swivel casters to the bottom of the bench. These little plywood corners aren’t included in the plans — I decided to add them because I wanted to raise the height of the workbench a little.
And just like that, I’ve got a brand-new workbench! You can build this DIY mobile workbench with drawers in a single weekend!
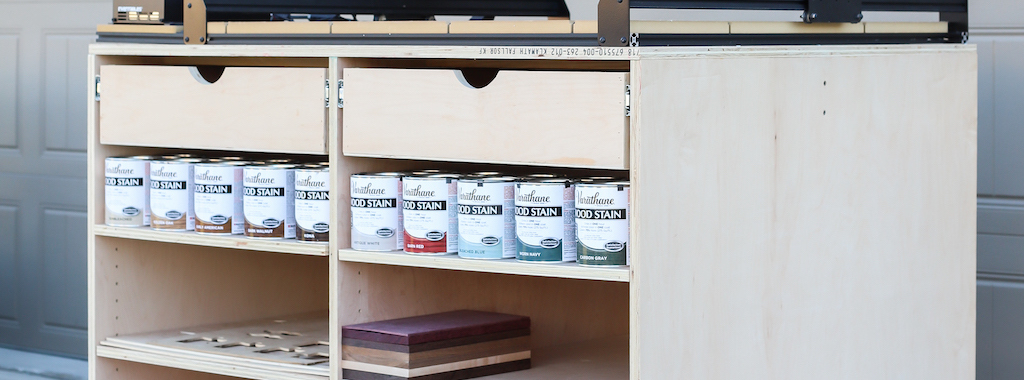
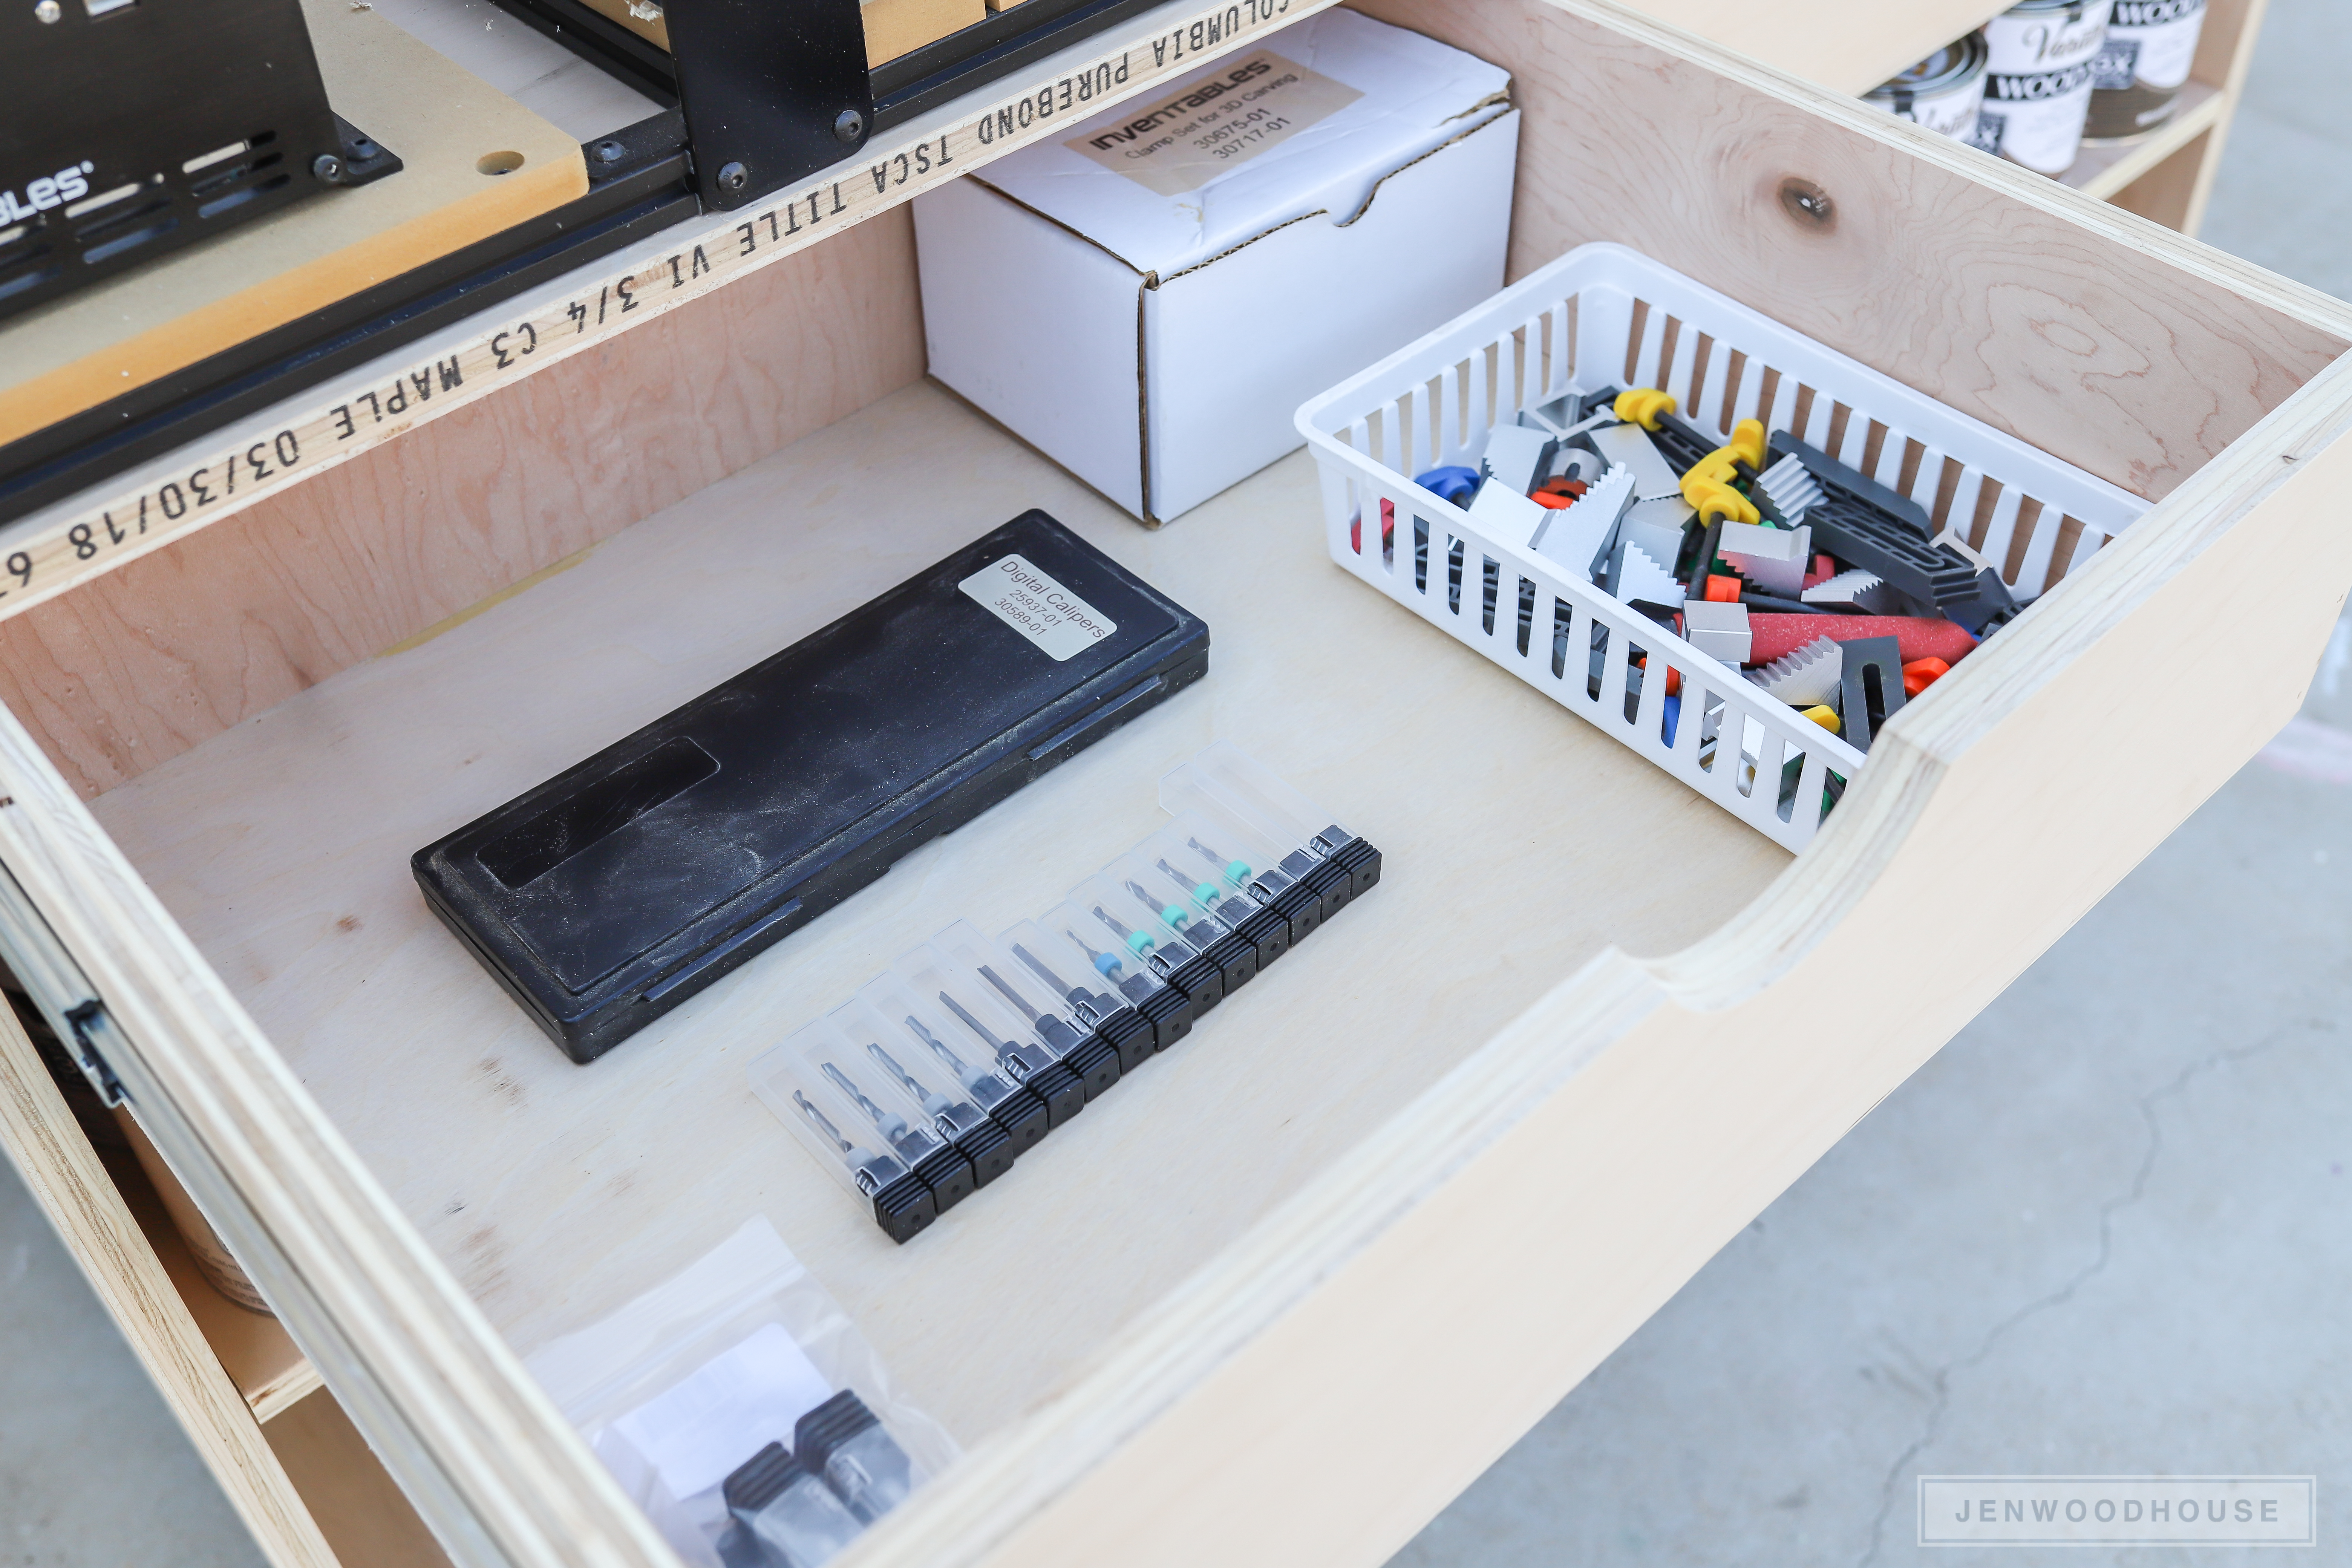
Finally, I placed my machine on top, loaded up the bench with supplies and called it a day.
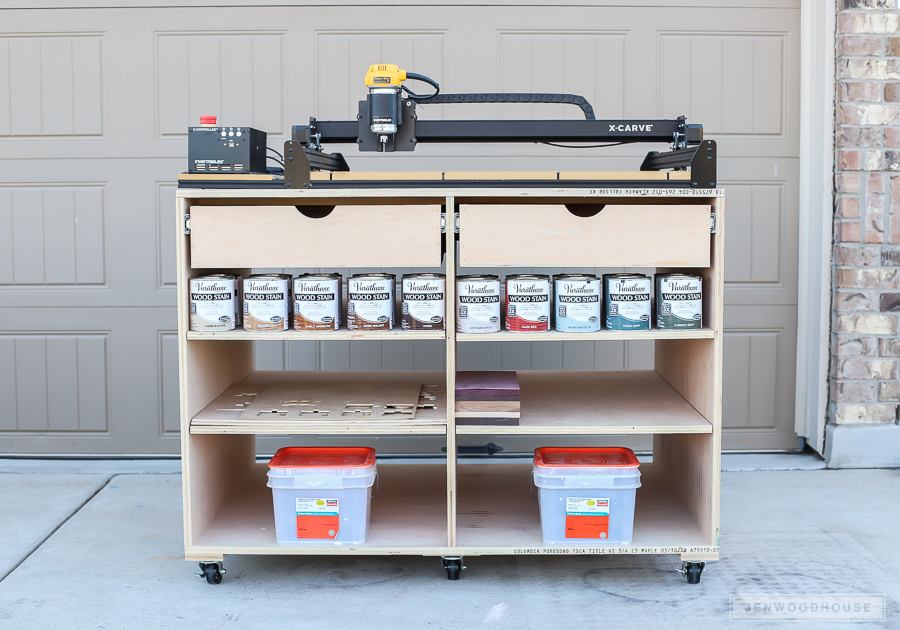
Look at all that lovely storage — I love that I can access the drawers and shelves from either side of the bench. I’m so glad I now have a place for everything I need!
Additional Simpson-inspired DIY Projects:
OUTDOOR DIY PROJECTS
- How to Build a Cool, Modern Chicken Coop
- How to Build a Floating Deck
- How to Build a Outdoor Accents Pergola
- How to Build a Simple Rolling Planter
- How to Build a Lemonade Stand